There are a number of reasons why learning the correct weighting for freediving is essential, particularly as the weighting you need will change, depending on the environment you are diving in. On this week’s course, our students assessed their weighting on the surface before seeing how it affected them when they dived down.
Finding the correct weighting for freediving depends on factors which include body weight, size and composition, the thickness and age of your suit, the depth of your dive, the water temperature and whether you are diving in fresh or salt water.
For safety reasons, the single most important thing you must achieve is to be buoyant when you are on the surface. If you have applied correct weighting for freediving you will remain on the surface, even after a full exhale, which is vital if a rescue scenario occurs and your buddy needs to keep you above water.
Systems of correct weighting for freediving
The main systems of correct weighting for freediving are rubber weight belts and neck weights. The most popular choice for new freedivers is the rubber weight belt, which is fitted tightly around the hips (this is so that it does not impede diaphragmatic/belly breathing) with small weights evenly positioned around the body.
As freedivers become more experienced they may choose to use a neck weight (instead of or together with the weight belt). The neck weight helps to streamline the body during disciplines such as Dynamic, or to help with correct body positioning during freefall in depth disciplines. Strong neck muscles are needed when using the neck weight on the surface, which can be a concern for some divers as they feel it can affect safety.
On our beginner and intermediate courses we only use weight belts with our students.
Many spearfishers use a weighted vest but this is not recommended for freediving as they are not usually quick release, are not tight fitting, and create drag in the water. The reason spearfishers like to use them is that when they are spearing in relatively shallow water, the weight on their back can keep them in position on the bottom as they hunt.
The most important factor when purchasing or choosing your weight method is how quickly you (or your buddy) can remove it in an emergency situation, either under the water or on the surface.
Why diving conditions must be taken into account when calculating correct weighting for freediving
The environment in which you plan to dive plays a big part in ensuring you have calculated the correct weighting for your dive. For example, in warmer water, you are likely to wear a thinner suit (or no suit at all) than if you were diving in colder waters. On our freediving courses at Vobster Quay, our students wear 5mm thick wetsuits, and because the water is fresh, usually use between zero and four kilos on their belts. As wetsuits are buoyant, the thinner the suit, the less weight you need. The same applies to salt water versus fresh water.
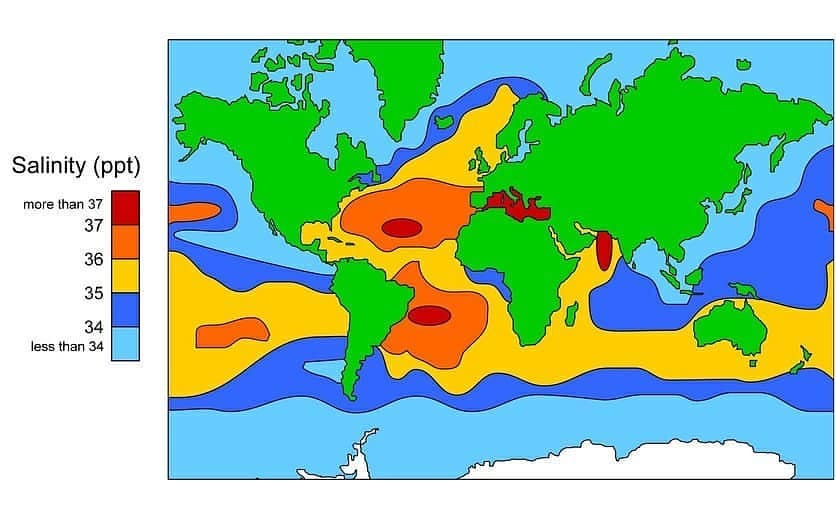
However, even in the sea, you will need different amounts of weight depending on where you are diving and the salinity of the water. You can see from this map that the sea is saltier is equatorial and tropical regions.
Factors that affect ocean salinity include location, climate, geology and nature. So you will always need to recheck your weighting for freediving when diving in a new location
It’s a fact that most men are more dense than women when freediving
This is not an insult, it’s a fact! A man’s physique is generally more dense than woman’s and they generally have a higher muscle to fat ratio in their bodies. This means that men often find they need no weight at all, or in some cases need to add buoyancy to stop them from sinking when they exhale at the surface. In Vobster Quay, which is spring fed, we usually do not need to add any weight to slim and muscular men. However, even though no weight may be needed, it is still useful to wear a weight belt in cold water to increase the seal between the two halves of the suit and prevent flushing.
Correct weighting for freediving and Neutral Buoyancy
It is always rewarding to see a student’s face when they achieve neutral buoyancy for the first time
Neutral Buoyancy is exactly as it sounds – a state of balance where you neither float to the surface or sink down. Ideally when freediving, you should be neutral around 10 m depth for safety. This is because the biggest risk for shallow water black out occurs in the top ten metres so we want to be positively buoyant to help our body ascend.
Psychologically, it is great for freedivers to know that at the end of their dive, when they really need to breathe, all they need to do is relax and they will get back to the surface with zero effort.
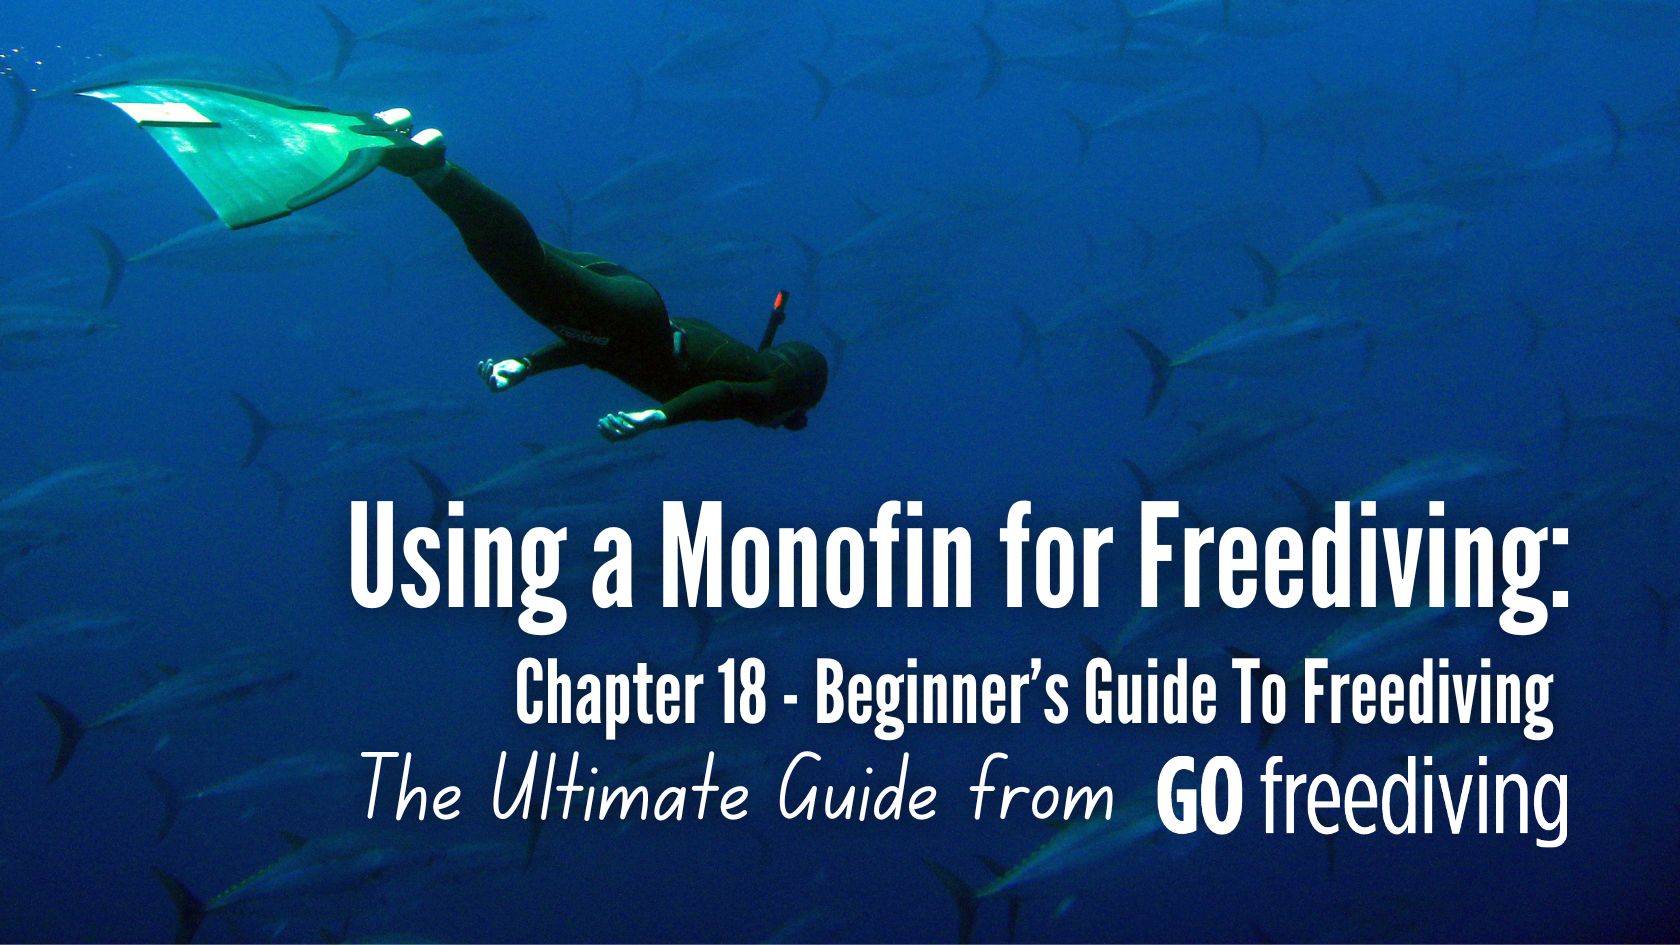
Bear in mind, if you do have a black out (which is extremely rare and will not happen on one of our courses), you may let out air which will negatively affect your buoyancy so it is really important when depth diving that you are neutral from at least ten metres. If you are diving with a monofin which is very powerful, then you may find you can be neutral at 15 metres as it is relatively easy to overcome positive buoyancy, as opposed to a discipline such as Constant Weight No Fins.
When students come on our RAID freediving course, we do a surface buoyancy check. This is a great way to assess buoyancy without expecting a new student to go down to 10 metres and hang around… You perform a surface buoyancy check by being upright in the water, your head out of the water, your legs together underneath you and your arms by your sides. Exhale completely, and if the water comes up to or over your nose then you will need to take weight off. After a full exhale, the water should come just below your lips. Bear in mind that when you first get into the water, your suit will be probably holding extra air, so after a few dives, when it is out of your suit, you may need to recheck your buoyancy.
When you are more experienced at freediving, you can perform your buoyancy check at depth. Descend to ten metres and invert, so your head is facing the surface and your legs are beneath you. Hold onto the dive line with one hand, the other looking at the depth gauge on your computer. Let go of the line and look to see if you float or sink. Adjust your positioning by pulling up or down the rope and then check again, making a note of the depth at which you are neutral, neither floating up or sinking down. When you are back at the surface you can adjust your weighting.
Remember that a buoyancy check can take time so make sure you given yourself enough time to relax and prepare on the surface, and that your buddy knows what you are doing.
Even if you have made a note of the weight you use in a particular location with a particular suit this situation can change.
Factors to consider when assessing correct weighting for freediving
- Have you lost weight or put any on? Generally speaking if you lose weight you will be less buoyant.
- Have you gained or lost muscle mass? The more muscle you have, the less weight you will need.
- How old is your suit? The more you use it, the more it will compress over time, becoming less buoyant.
- Have you changed anything on your kit configuration? Adding a lanyard, different weight belt and fins, or a a vest underneath your suit can all affect buoyancy.
Other factors to consider are:
- Are you diving for recreation or depth? If you are diving on a shallow reef then you will need more weight than if you are diving on a line.
- What freediving discipline are you practicing?
- Are you diving in salt or fresh water? If you are diving in salt water, is it in an area of high salinity?
- Can you bring an extra half a kilo out on your buoy to adjust your weight in the water?
Keeping a record
It is important to keep a record in your log book of the weight you wore under which conditions, along with what other freediving equipment you used. It is also useful to take with you an extra half kilo weight for your belt, and neck weights of varying weight, so you can be more precise when fine-tuning your weight setup. This can become an invaluable reference for future dives.
Learn to freedive with Go Freediving!
Go Freediving is the longest established, most experienced and friendliest freediving course provider in the UK, led by world class freediving instructor trainer Emma Farrell, and her team of personally trained instructors. No other course provider has such a good instructor to student ratio, safety record and personal touch.
Whether you’re a beginner dipping your toes into the world of freediving, a seasoned pro looking to turn professional, or simply a freediver of any level who wants the best freediving holiday in the world, we’re here for you!
If you want to know what previous students thought of their course, visit our testimonials page here: Testimonials
Want more from Go Freediving?
Scroll to the bottom of our webpage where you can sign up to our newsletter, find the dates for all upcoming trips and courses, read even more blogs, or connect with us on social media!
See you in the water!